
Some people see car washing as a chore. Others treat it as a ritual, a way to take pride in their vehicle and keep it looking like new. Done right, it protects your paint job and preserves long-term value.
Regular car washing helps prevent dirt buildup and maintains resale value. In this guide, you will learn each step. From preparation and safe washing techniques to interior cleaning and the best finishing touches.
Ready to see how to wash a car the right way? Let’s get started.
Why I Wash My Car Weekly: Long-Term Benefits of Regular Car Washing
Skipping washes might seem harmless in the short term, but the costs add up over time. Here are the main advantages of consistent care:
- Paint Protection – Washing removes harmful grime and sap that eat away at your clear coat. This is the best way to wash a whole car if you want it to look showroom-fresh for years to come.
- Rust Prevention – Road salt and loose dirt cling to metal surfaces, especially in winter. Frequent washing prevents rust from forming in wheel wells and undercarriages.
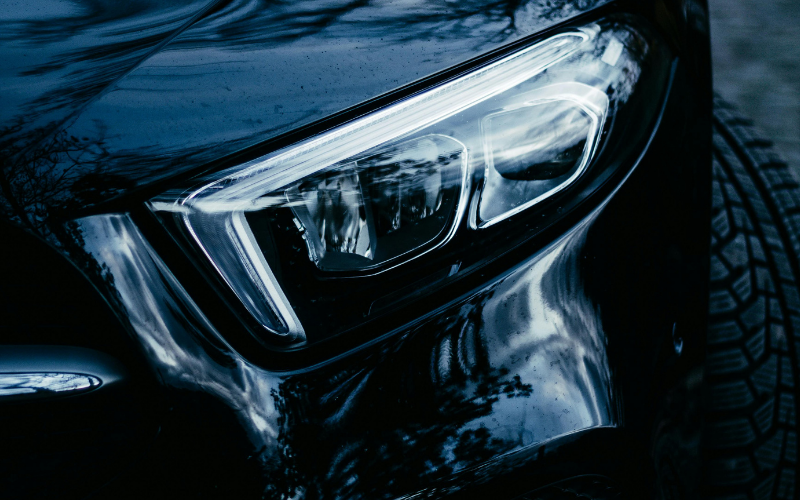
- Better Safety – Clean headlights and windows improve visibility, which makes night driving safer.
- Lower Maintenance Costs – A well-maintained vehicle doesn’t just look better; it also saves you from expensive paint repairs and bodywork.
- Driving Satisfaction – Let’s face it, a freshly washed vehicle feels fantastic to drive. Who doesn’t enjoy that “new car” feeling, even if it’s years old?
Why It Matters More Than You Think
This isn’t just about having a shiny car. It’s about keeping the paint from breaking down. Every time you park under a tree, you’re collecting sap and pollen. Every highway trip means a windshield full of dust and bug splatter. In winter, the salt alone can eat your undercarriage if you let it.
Over time, all of that gunk bakes into your clear coat. That’s when paint fades. That’s when rust starts to creep in. The fix isn’t fancy products; it’s regular washing. Even just twice a month can save you hundreds in the long run.
If you have either a black car or a blue one, you’ve probably noticed that it shows every single detail. One drive through town, and it looks like you’ve been off-roading. You’ll want to wash more often, but gently.
Start Smart: Right Time, Right Tools
Before you begin, it is essential to prepare both your tools and environment. Skipping this stage is one of the most common mistakes to avoid when washing your car, and it often leads to scratches or uneven results.
Choose the Right Location
Always wash the car in the shade or on a cloudy day to prevent damage from the sun. When water droplets sit in direct sunlight, they concentrate heat like small magnifying lenses. Over time, this can dull the clear coat and even cause cracks in the paintwork.
Wait Until the Engine Cools
Washing a hot car can cause two problems: water on a hot hood may damage the paint, and cold water sprayed on a warm engine may accelerate wear. Waiting until everything has cooled down helps protect both the engine and the finish.
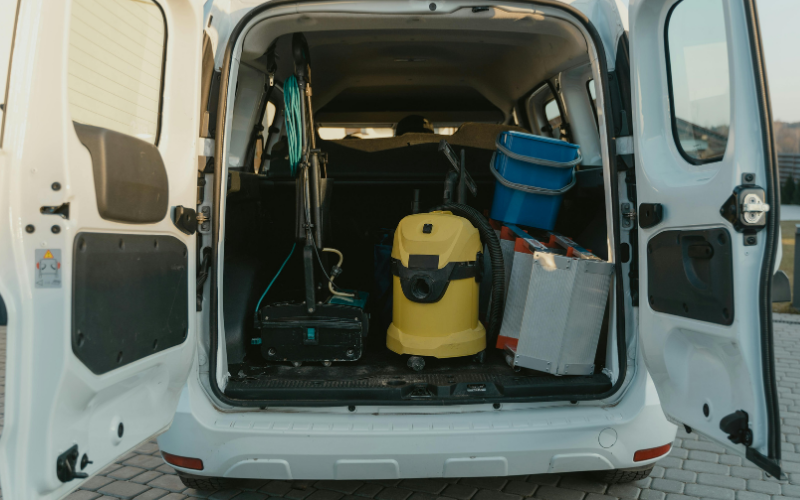
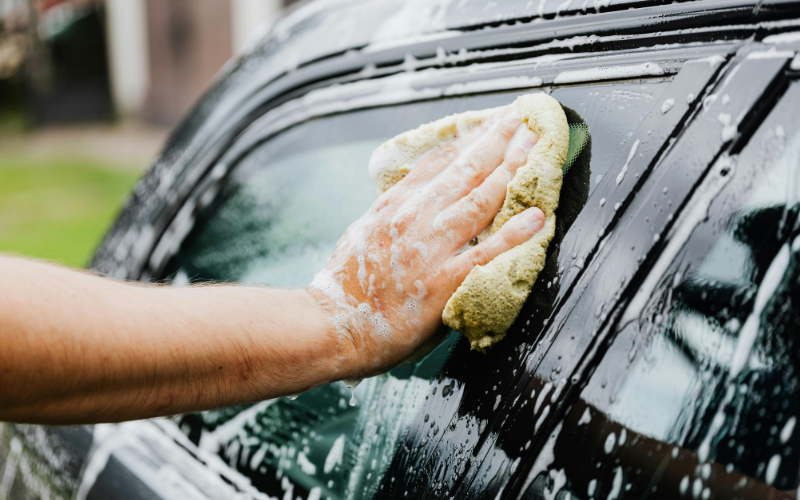
If you’re doing a DIY car wash at home, gather all the necessary materials first. You’ll want two buckets: one bucket for soapy water and another for rinsing your mitt. Not a sponge, by the way. Use a soft microfiber mitt. It holds more suds and won’t accidentally scratch the paint.
Never use household cleaners; they’re too harsh. Instead, use car shampoo, diluted as recommended:
- Regular: 1:100
- Concentrated: 1:200
- Ultra-concentrated: 1:300
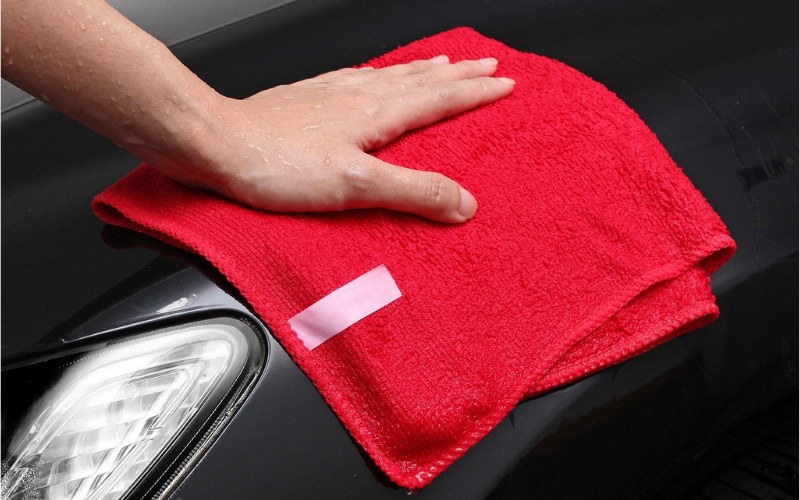
Use a wash mitt or drying towel to apply the soapy water. They’re gentler than sponges, which can trap grit.
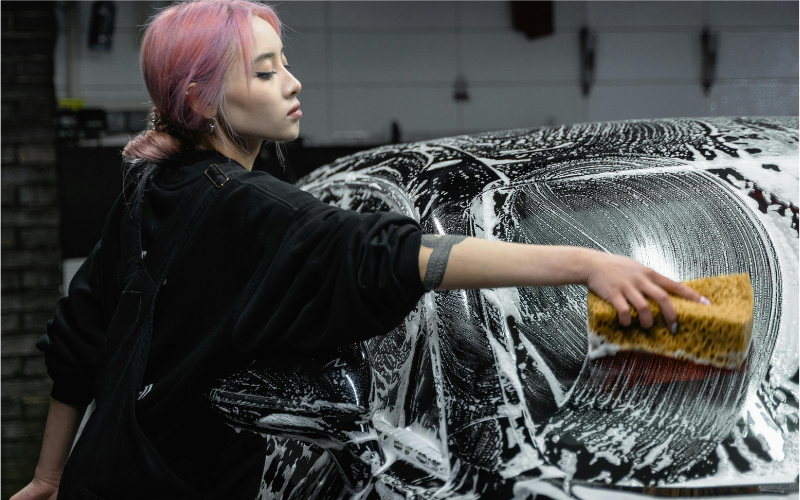
How to Use a Foam Cannon for Maximum Coverage
A foam cannon is not just for car lovers. It makes washing faster and safer. When you use it, thick foam covers the car and clings to the paint. The foam loosens dirt and grit, so you can rinse most of it away before touching the car.
This matters because the less you touch dirty paint, the lower the risk of scratches. That is why many professionals start every wash with a foam cannon. It gives full coverage and extra protection.
Step 1: Rinse First to Avoid Scratches
Before you touch the paint, rinse the car down. Don’t skip this step. It removes the loose grit from the surface. If you start scrubbing too soon, you’re grinding that loose dirt right into the finish.
Work from the roof down. Allow the fresh water to run naturally over the panels. This way, you’re not pushing dirt back up.
Got bug splatter or sticky spots? Let water soak them for a few minutes. That saves you from scrubbing too hard later.
Step 2: Use the Two-Bucket Method (Most People Get This Wrong)
Here’s where it goes right, or wrong. Do you wash your car with one dirty bucket? That’s a recipe for swirls. Dirt collects in the water, and suddenly you’re dragging it across your car’s paint again and again. Two buckets. One clean bucket to rinse your mitt. One for suds.
Step 3: How to Wash the Car Body Properly
Now comes the core step of any step-by-step car wash guide: the actual hand washing.
Wash From Top to Bottom
Work systematically from the roof down. Start with the roof, then move to the windows, doors, and finally the lower panels. The lower sections are the dirtiest and should always be left for last.
Use Straight Lines, Not Circular Motions
Many people instinctively scrub in a circular pattern, but this creates swirl marks that are highly visible in direct sunlight. Instead, wash in straight lines for a cleaner finish.
Rinse Frequently
After each section, rinse your wash mitt in the second bucket of clean water. This ensures you are not rubbing dirt back into the car’s paint. If you continue dipping into a dirty bucket, you risk scratching the surface.
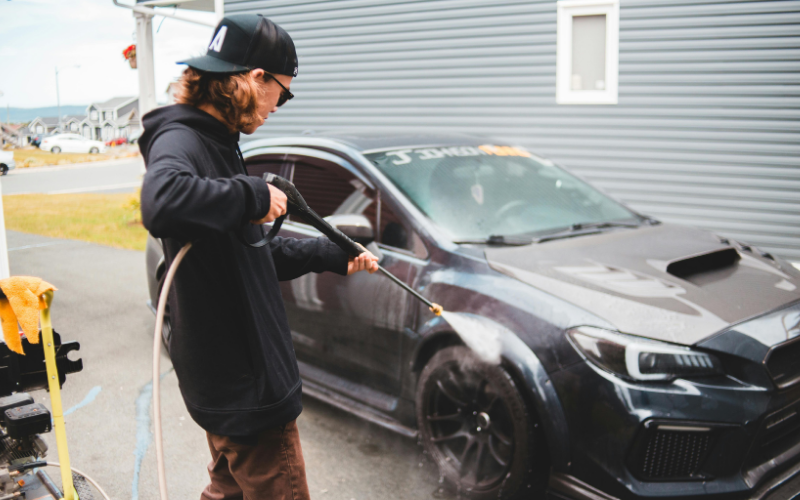
Avoid Excessive Pressure
Although a power washer can save time, its high pressure can strip wax or damage delicate trim. A garden hose with a steady flow is safer for rinsing.
Step 4: Car Interior Cleaning Steps

Washing the outside is only part of the job. A clean car also implies taking care of the inside, and most car owners forget this important provision when cleaning up the car at home.
Start at the Top
Use a foam cleaner on headliner stains and wipe them immediately with a microfiber cloth to prevent water marks.
Clean Seats and Doors
Clean interiors with an interior cleaner. Seams can be scrubbed with a detail brush and scuff marks with a Magic Eraser. After cleaning the surfaces, blow the moisture out of the crevices using an air gun on dry mode.
Finish with the Dashboard
Wipe the dashboard, particularly electronics, screens, and buttons. Always apply as little moisture as possible in order to safeguard delicate parts. Dust can be removed by the use of an air gun on vents and switches.
Working from the top down prevents cross-contamination and ensures that dirt does not drip onto areas you have already cleaned. This whole process also makes your cleaning routine more efficient and safer for your car’s electronics.
Step 5: Special Considerations for Dark Colored Cars
If you own a black car, you already know the challenge: even after a day, dust and streaks show up more visibly than on lighter colours. Dark colored cars require a slightly different approach to avoid frustration.
First, choose a car wash soap formulated for dark finishes. These soaps reduce the chance of water spots, which are more evident on darker paint. Avoid household cleaners, such as dish soap or strong detergents, which can strip protective wax layers and dull the surface.
Second, foam coverage is beneficial. Using a foam cannon allows you to blanket the car in suds that lift away dirt before you touch the paint, reducing the chance of scratches.
Finally, drying is critical. Always completely dry the car immediately after rinsing, using a microfiber towel or chamois. Creating visible spots by leaving the water droplets to evaporate on their own was done.
Dark paint needs extra care, but when maintained properly, the results are worth it: a deep, mirror-like shine. Needless to say, you can skip this step if you don’t have a black car.
Step 6: Cleaning Convertible Tops and Exterior Details
Convertible tops require gentle cleaning techniques. A soft-bristled brush or a clean microfiber cloth is ideal for loosening dirt without damaging the fabric. Use mild chemicals and do not apply harsh ones, which may make the fibers weak. Rather, apply a convertible top cleaner, then an application of a conditioner.
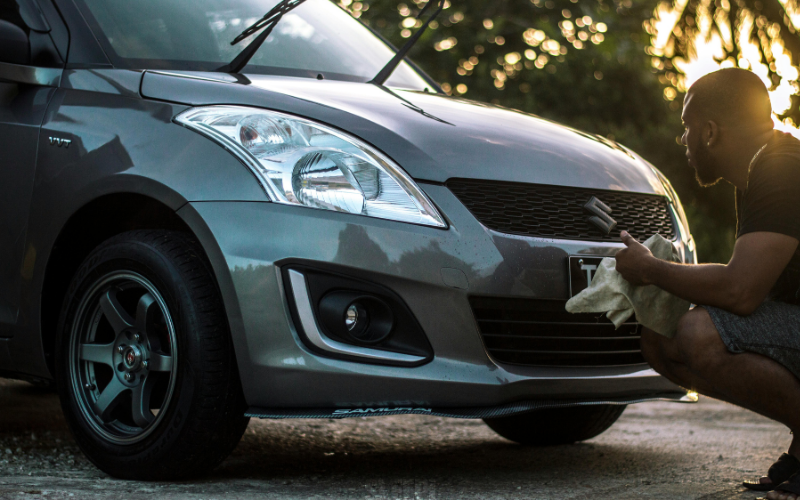
When it comes to wheels and tires, a wheel cleaner combined with a wheel brush helps remove brake dust and grime from wheel wells. A rim cleaner can tackle stubborn dirt on metal surfaces. After cleaning, squeegee a tire dressing or conditioner to give the tire its deep black appearance.
It is also important to take care of glasses. Clean windows, mirrors, and the windshield with a microfiber cloth to ensure streak-free visibility.
According to a survey on vehicle care, paying attention to small exterior details, such as wheels and mirrors, not only enhances the vehicle’s appearance but also improves its safety.
Regular maintenance in these aspects not only enhances the general appearance of the car but also makes the vehicle last longer.
Step 7: Dry Like a Detailer
Drying your car is quite essential. Many car owners make the mistake of letting their car air dry. While this seems convenient, it leaves behind water spots. The better approach is to dry the car immediately using microfiber towels, which are soft, absorbent, and designed not to scratch paint.
Using Quick Detailer Spray for Added Shine
A drying aid or quick detailer spray can also be applied while wiping down the car. This reduces streaking, enhances shine, and provides a light protective barrier until the next wash.
Different drying methods produce different results, as the table below shows:
| Drying Method | Pros | Cons |
|---|---|---|
| Air Drying | No effort required | Leaves mineral water spots |
| Cotton Towels | Cheap and reusable | Can accidentally scratch paint or lint left |
| Chamois | Absorbs well, smooth finish | It can be rough on paint |
| Microfiber Towels | Soft, highly absorbent, safe | Needs proper washing to last |
After drying, apply a protective wax or sealant to the surface. Wax provides a glossy finish and forms a barrier against UV rays, dirt, and rain. Regular waxing is one of the most effective ways to extend the life of a car’s clear coat.
Finally, finish with trim cleaner or conditioner to protect moldings and plastic surfaces. This makes the car look polished, professional, and all the details are secured.
When to Use a Clay Bar for Deep Cleaning
Even with regular car washing, some dirt still sticks to the paint. Surface items such as tree sap, tar, or pollution get deep-rooted. Soap and water alone cannot remove these tough spots. This is where a clay bar becomes valuable.
After washing and drying, glide the bar gently across the paint surface with a lubricant. You will feel it grab onto rough spots and pull out embedded dirt. Once complete, the paint feels smooth to the touch and is ready for polishing or waxing.
Detailers suggest using it only a few times per year, as overuse can wear down the clear coat. Think of it as a deep clean that restores the paint to a smooth, glass-like finish.
Benefits of Using Microfiber Towels
| Benefit | Why It Matters |
|---|---|
| Superior Absorbency | Soaks up large amounts of clean water quickly, dries without streaks or water spots, and reduces drying time. |
| Gentle on Paint | Softer than cotton towels, microfiber towels and microfiber cloths glide smoothly, preventing swirl marks and protecting the clear coat. |
| Dust and Dirt Pickup | Fibers attract and trap dust, lifting particles from the surface so the car stays cleaner for longer. |
| Durable & Eco-Friendly | With proper care, it lasts through dozens of washes, saving money and reducing waste compared to disposables. |
Pro Tip: Use one microfiber towel for drying panels and another for buffing wax or applying quick detailer sprays. Manywell offers premium microfiber towels, specifically engineered for automotive care, delivering high absorbency with a streak-free and scratch-free finish.
Free DIY Tips for Cleaning Your Car
A car wash at home does not always require professional products. A few do-it-yourself tricks can make cleaning both effective and affordable.
Steam and Alcohol Cleaning

Mix leftover household alcohol with water in a spray bottle, then close the car doors and windows. Run the air conditioning to create steam, which helps loosen dirt. Wipe seats, vents, and the inside of the windshield with a microfiber cloth. This removes grease, snack residue, and odours, leaving the interior clean and fresh.
Soap Paste for Deep Cleaning
Combine laundry soap, dish soap, and water, then let it thicken overnight into a paste. Apply with a soft brush to seat crevices, door seals, and dashboard edges. Wipe away with a towel to reveal a polished finish that looks almost like a professional detail.
These DIY methods are simple yet effective, demonstrating that car cleaning at home can be both practical and affordable. However, for consistent, professional-level results, specialized products provide longer-lasting protection.
It’s Simple, but It Sticks
Washing your car by hand isn’t about being fancy. It’s about doing it right. The initial occasion could be tedious. But the second time is easier. By the third time, you are working on muscle memory. You know where the stubborn dirt hides. You work out your own rhythm.
Frequent washing keeps your car looking newer and helps you avoid costly repairs in the future. Whether you drive your car daily, own dark colored vehicles, or enjoy the satisfaction of car cleaning at home, the proper techniques make all the difference.
Get High-Quality Microfiber Cloths from Manywell!
To achieve professional work, all equipment used should be performance and safety-oriented. Manywell has been working on a single goal for 17 years, which is to make the process of cleaning easier and effective. All products are put to the test to be durable, sustainable, and user-friendly.
When you choose Manywell, you invest in tools that protect your vehicle while saving time and effort. Explore the Manywell car care collection and upgrade your routine today.


