
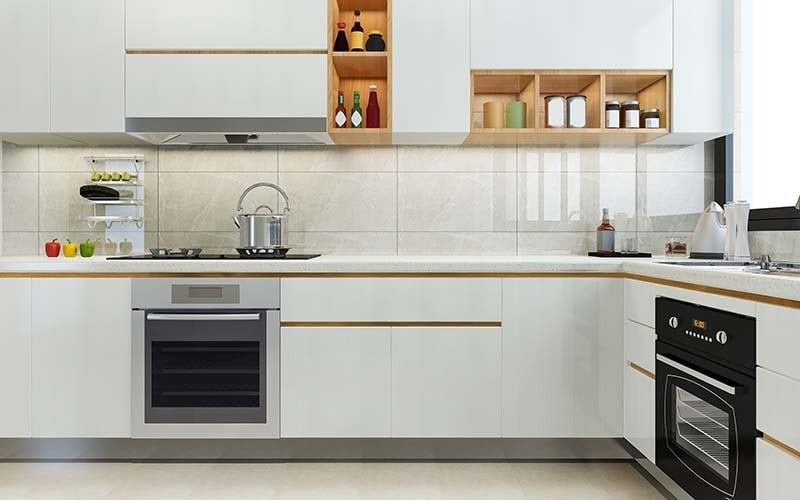
A clean kitchen is visually appealing, ensures food safety, and results in a more enjoyable cooking experience. From greasy counters and dirty ovens to hidden dirt inside cabinets and appliances, the kitchen can quickly collect messes if not cleaned properly.
In this detailed guide, we walk you through the basics of kitchen cleaning and give practical pointers on managing the different sections of your kitchen.
Every Area of Your Kitchen
Let’s start with a complete list of every kitchen area and surface that requires cleaning. You can use the table below as a checklist when deep cleaning your home or restaurant kitchen.
Table 1: Different areas of the kitchen categorized
| Kitchen Cleaning List | ||
| General Kitchen Areas | Exterior Areas | Interior Surfaces |
| WallsFloorCeilingWindows | CountersCabinetsSinksFaucet & Handles | CupboardsDrawersPantry ShelvesTrash CansExhaust Vent Hood |
| Large Appliances | Small Appliances | Additional Areas |
| FridgeOvenStove TopDishwasher | MicrowaveToasterBlenderFood ProcessorAir Fryer | DrainsRugs & MatsOutletsSpice RacksLight Fixtures |
Step-by-Step: How to Clean the Kitchen
In this section, we teach you the most effective cleaning routine for each of the above categories. There will be a cleaning supplies list for each section of the kitchen, so you can focus on one task at a time.
To keep things concise, we’ll be focusing on some areas more than others, such as ovens and sinks that require extra care.
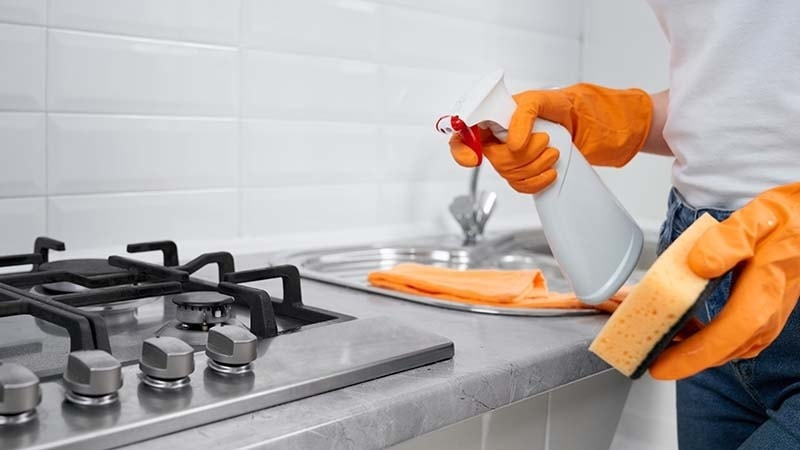
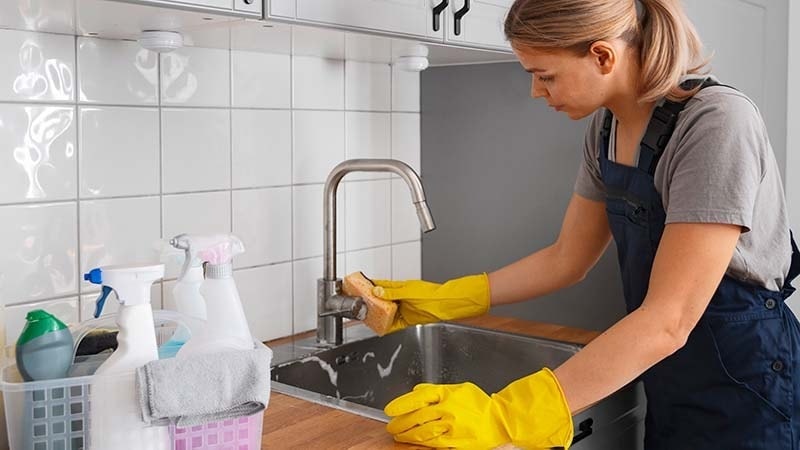
1. Cleaning Kitchen Sink & Faucets
| Materials for Kitchen Sink Cleaning | |
| Cleaners | Tools |
| Dish Soap | Microfiber Towels |
| Baking Soda | Paper Towels |
| White Vinegar | Small Brush |
| All Purpose Cleaner | Scrubbing Mitt |
| Hot Water | Spray Bottle |
Let’s start with the kitchen sink. It is one of the most used pieces in your kitchen and the one in most need of deep cleaning.
- Step 1: Rinse your kitchen sink with clean water and get rid of those food particles from the dirty dishes.
- Step 2: Mix some dish soap into a half cup of baking soda until you get a runny paste consistency. Apply the mixture to the sink edges where it connects to the counter. Use a small brush to scrub the mixture and get all of the dirt and grime buildup.
- Step 3: Spray the rest of the sink with an all-purpose cleaner and throw some baking soda on top. The baking soda will act as an abrasive and help scrub the metal surface. Scrub the basin with a scrubbing mitt to prevent wrist strain.
- Step 4: Add white vinegar to a disposable cloth or paper towel and wrap it around your faucets. The vinegar will break down those hard water stains. Let it sit for 5-10 minutes before removing the paper towels and scrubbing everything with a small brush.
- Step 5: Now clean the sink with hot but not boiling water. It will remove the excess soap, loosen up any leftover dirt, and also disinfect the kitchen sink.
- Step 6: Use a clean microfiber towel and dry the faucet and sink edges. Microfiber cloths are specially designed for a lint-free and streak-free finish. They will reduce the risk of water stains on your newly cleaned sink.
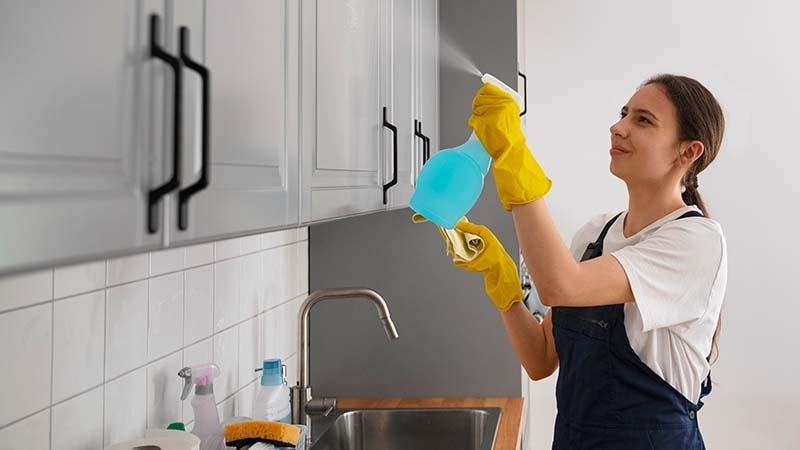
2. Kitchen Counters and Cabinets
| Materials for Cleaning Counters & Cabinets | |
| Cleaners | Tools |
| All Purpose Cleaner | Microfiber Cloth |
| Enzyme Cleaner | Spray Bottle |
| Disinfectant | Small Brush |
Counter tops and cabinets are much harder to clean because of material limitations. Your sink is made from stainless steel and can tolerate harsh cleaning cycles. But counters are made from ceramic, wood, or particle board with a laminate finish, which are easy to stain and scratch.
Always test your cleaning solution on a small out-of-sight corner to see if it damages your clean surfaces.
- Step 1: Clean your counters and cabinet exteriors with a damp cloth. Get as much dry dirt off the counters before deep cleaning.
- Step 2: Lightly spray your kitchen surfaces with an all-purpose cleaner and let it sit for 10 minutes. Alternative homemade cleaning solutions use equal parts dish soap and water. Use a small brush to scrub the groove around your cabinet doors and the handles.
- Step 3: Clean the counters and cabinets with microfiber towels. First, use a damp towel and remove all soapy residue. Then use a dry towel to remove excess moisture and completely dry the surface.
- Step 4: Use an enzyme-based cleaner on grease splatters and other oily stains. The enzymes break down the oil without damaging the surface underneath.
- Step 5: Use a disinfectant spray on all the contact surfaces, like cabinet door handles. You can use the same cleaning process to clean the outside of kitchen drawers and other wooden surfaces.
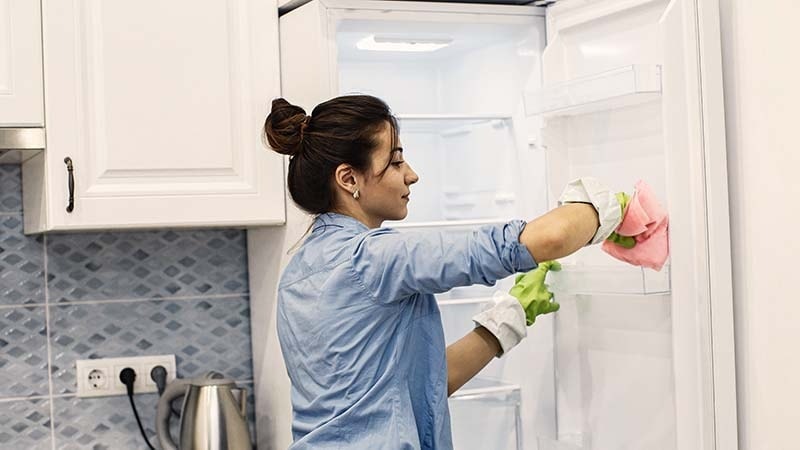
3. Large Appliances (Dishwasher, Fridge, & Oven Interior)
| Materials for Cleaning Large Appliances | |
| Cleaners | Tools |
| All Purpose Cleaner | Microfiber Towel |
| Food Safe Cleaner | Small Brush |
| Dish Soap | Paper Towels |
| Baking Soda | Scouring Pad |
Larger appliances like fridges, dishwashers, and ovens have a two-part cleaning routine. A quick method to clean appliance exteriors and a more intensive process to properly clean interiors.
- Step 1: Use an all-purpose cleaner on the outside of your appliances. Wait 5 mins, then wipe everything down with a clean microfiber cloth.
- Step 2: Empty your fridge and dishwasher. Take out all the good food and set it to the side. Next, remove all the racks, shelves, and baskets from the inside. The fridge ones are much easier to break, so be extra careful.
- Step 3: Spray a food-safe cleaner inside your refrigerator and dishwasher. You can make a homemade cleaner with distilled white vinegar and some warm water. If you don’t, as the smell of vinegar, replace it with lemon juice.
- Step 4a: Use baking soda on the oven interior to get rid of the grease, carbon, and burnt-on food. Mix baking soda with a food-safe cleaner to make an easy-to-apply cleaning paste.
- Step 4b: Fridge interiors are all plastic, so use a clean rag to clean the inside and remove leftover food pieces and sauce stains. You may need to use a damp cloth to remove some of the more stubborn stains.
- Step 4c: Lastly, we have the dishwasher. Scrub the gaskets with a small brush because these are the dirtiest elements. Then clean the insides with baking soda.
- Step 5: Use the same process as previously mentioned and clean the soap residue with a damp cloth. Now, give all surfaces a final wipe down with a clean and dry microfiber towel.
- Step 6: Put all the interior racks and trays on the counter and wash them with warm, soapy water. The same process that you use to clean dishes. After cleaning everything dry with a microfiber cloth and put it back into the fridge.
- Step 7: Use this chance to get rid of all the expired stuff and only keep the fresh ingredients in your fridge. Expired items can often lead to mold and fungus, which negates all of your hard cleaning efforts.
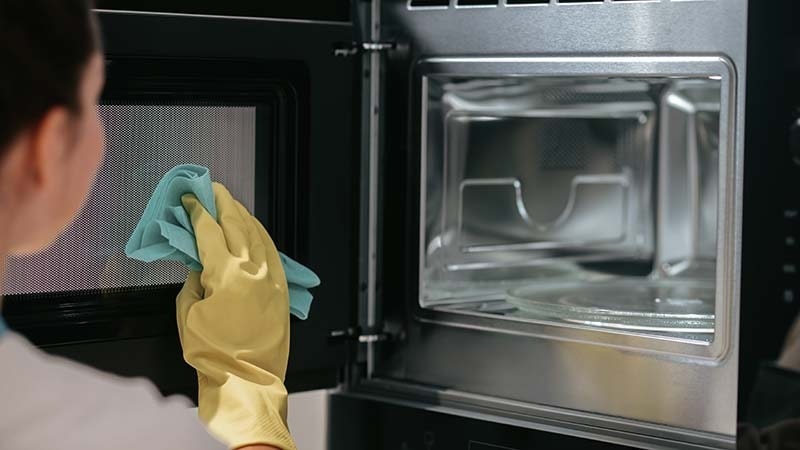
4. Small Appliances (Toasters, Microwaves & Food Processors)
| Materials for Cleaning Small Appliances | |
| Cleaners | Tools |
| All Purpose Cleaner | Microfiber Towel |
| Lemon & Lemon Juice | Small Brush |
| Warm Water | Vacuum Cleaner |
Small appliances are much easier to clean. So in this section, we give you step-by-step guides on individual applications.
- Step 1: Use an all-purpose cleaner and lightly mist the outside. Wait a while, then wipe off the solution with a clean microfiber cloth.
- Step 2: Remove the crumb tray at the bottom of the toaster first. Use a small brush to gently scrub the insides of the toaster. Do not use any liquid here. You are only trying to remove the stuck-on food from the inside.
- Step 3: Place a bowl of water with the juice and rind of two lemons into your microwave for 5 minutes. Let the citric steam cover the inside of the microwave. Then wipe everything down with paper towels.
- Step 4: Use a brush to scrub the grooves and knobs of the food processor (or stand mixer). Then wipe it clean with a microfiber cloth.
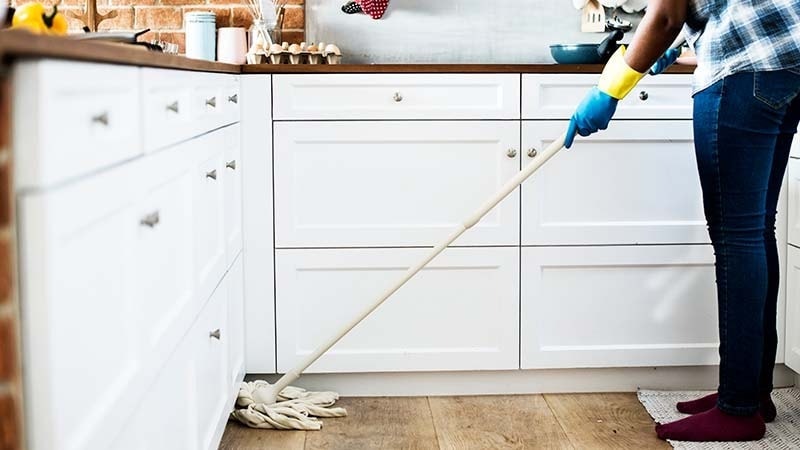
5. Kitchen Floor Cleaning
| Materials for Floor Cleaning | |
| Cleaners | Tools |
| Floor Cleaner | Dry Mop |
| Warm Water | Microfiber Mop |
| Warm Water | Mop Bucket |
| Disinfectant | Paper Towels |
| Scrubbing Brush | |
Floor cleaning also requires an assessment of the flooring materials. You can use lots of water on stone and tile floors, but not on hardwood or luxury vinyl flooring. Always use neutral-pH floor cleaners that are less likely to damage the kitchen floor.
- Step 1: Vacuum your floor first. Get as much of the large bits of dirt from the floor. Vacuum cleaners with a hose are also great for removing dust bunnies hidden behind appliances and cupboards.
- Step 2: Dry mop the floor to remove small dirt particles. You can lightly spray a floor cleaner to increase dirt collection. For daily cleaning, dry mopping is the best approach.
- Step 3: Deep clean your floors with a heavy-duty wet mop. Scrub your floors to remove stains and dirt buildup. Make sure you use a small brush (even a toothbrush) to scrub the grime out of the tile grout.
- Step 4: Lastly, apply disinfectant to the floor to kill bacteria and keep your kitchen nice and sanitized.
5 Helpful Tips for Keeping Your Kitchen Tidy

Here are our top five tips for cleaning and maintaining a kitchen.
1. Cleaning Supplies for Different Surface Materials
Not all surfaces are made equal. Some surfaces are much easier to damage than others. Always consult with the manufacturer on best cleaning practices. Here is a quick guide on kitchen surface materials and their best-suited cleaning supplies.
- Metal: Avoid using wire brushes and steel wool. They will clean the surface but leave scratches.
- Glass: Use glass cleaners and soft sponges to avoid scratching and cracking.
- Ceramic: Avoid acidic cleaners as they can leave bleach stains on tile, marble, and other stone surfaces.
- Plastic: Avoid scrubbing altogether. Use a mild cleaner and a microfiber cloth.
Learn more about cleaning floor surfaces here.
2. Sanitize All Cooking Surfaces
Sanitize your cooking surfaces with a food-safe cleaner. You can also use lemon juice as a natural disinfectant. Be extra careful when using bleach. Leftover bleach residue can make its way into your food.
3. Take Safety Precautions
Always wear the right safety equipment when cleaning. Goggles will protect your eyes, gloves will keep your hands safe, and a mask will prevent you from inhaling chemical fumes.
4. Use a Top-to-Bottom Cleaning Approach
Start cleaning the top surfaces first, so you don’t have to re-wash areas. As you clean the top, the dirt will move to the bottom. This dirt will be removed once you start cleaning the bottom half.
5. Establish a Regular Cleaning Habit
Regular light cleaning is always better than occasional deep cleaning. Prioritize areas like sinks and countertops for frequent cleaning. Larger appliances and cupboards can be scheduled for occasional cleaning.
Conclusion
Clean surfaces are safe surfaces. Whether you’re cleaning kitchen appliances or sanitizing your countertops, proper technique is very important. Be mindful of surface materials and their interaction with cleaning supplies. Use the information from this guide to plan your kitchen cleaning routine.
Keep Your Kitchen Tidy with Supplies from Manywell!
Manywell is a leading manufacturer and supplier of cleaning equipment. We specialize in safe and hygienic kitchen cleaning solutions. Our microfiber towels, scrubbing mitts, and flat mops are the perfect fit for your kitchen.
All Manywell products are fully customizable and come with a satisfaction guarantee. Contact us now!


