
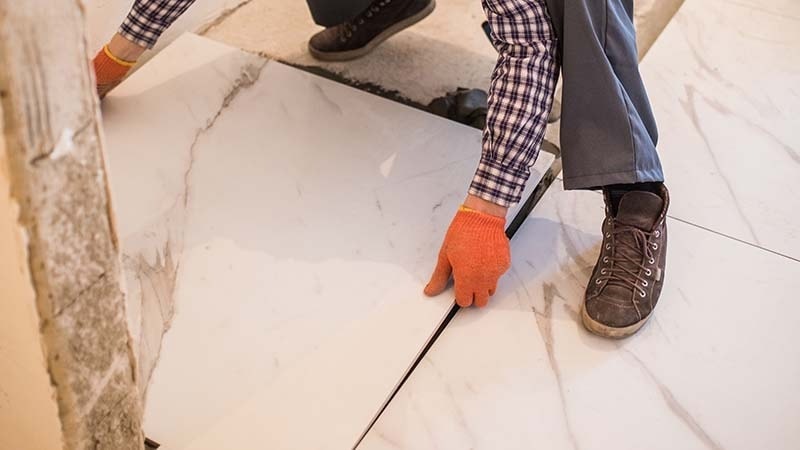
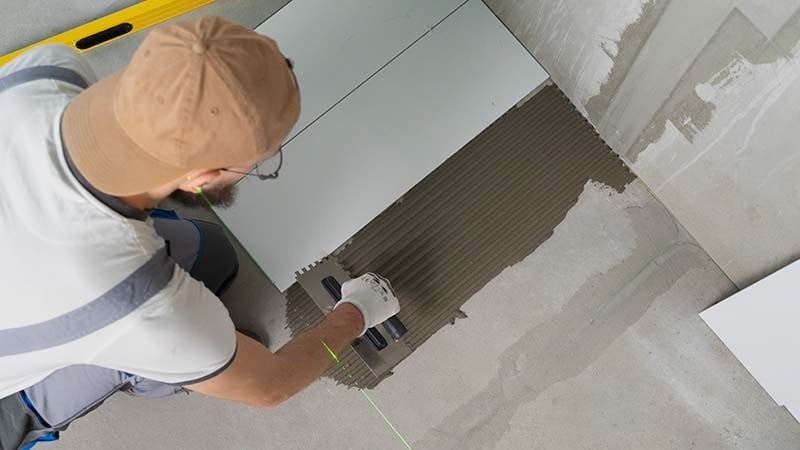
Tile floors are durable, stylish, and easy to maintain. However, there are different cleaning rules for different types of tiles. From natural tiles like ceramic and marble to manufactured ones like vinyl, each surface has unique maintenance requirements that affect its appearance and lifespan.
In this article, we break down the different types of tile floors and share efficient and effective methods of cleaning and maintaining tile surfaces.
Types of Tile Floors
You need a different cleaning and mopping technique for different types of floors. Here is a quick overview of the different types of tile floors you will find in homes and businesses.
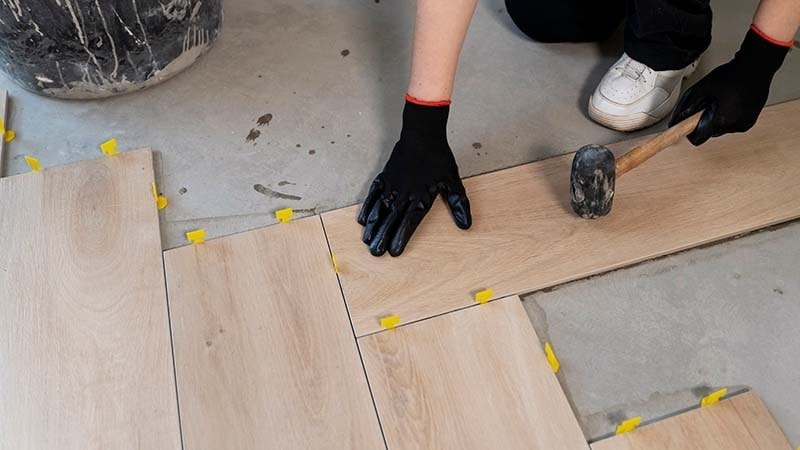
1. Ceramic Tile Floors
Ceramic tiles are made from clay and baked in a kiln at high temperatures (1600°F – 2100°F). The exact makeup of the tile is dependent on the type of clay used, its baking temperature, and additives.
It’s a durable yet affordable flooring option that provides adequate water resistance. Ceramic tiles are available in a wide range of colors and finishes. The high durability means you can use a scrub brush, a mop, or a broom to clean ceramic tile floors without the fear of scratching.
Avoid acidic cleaners as they can damage the finish and leave stain spots. We also advise against using excess water for cleaning. While ceramic tiles have some water resistance, they can absorb moisture through the grout lines.
2. Porcelain Tile Floors
Both porcelain and ceramic tile floors are made from clay. However, porcelain tiles are baked at a much higher temperature (2200°F – 2600°F). This results in better durability and moisture resistance.
Since porcelain floor tiles are highly resilient, you can use them for indoor and outdoor applications. Use them by the pool, in your bathroom, or for kitchen flooring. Clean your porcelain tile floors anyway you like. Just be sure to avoid using rough brushes that can damage the tile finish over time.
3. Marble/Stone Tile Floors
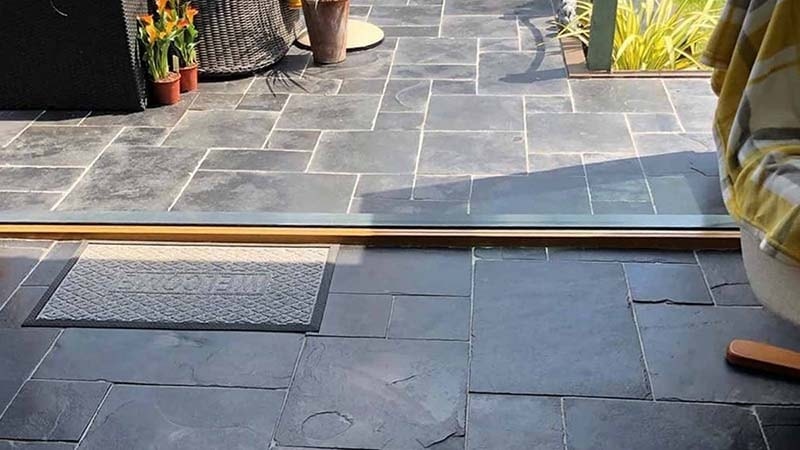
Natural stone tiles are some of the most aesthetically pleasing flooring options. Marble tiles are the most popular variant. But you can also get limestone, sandstone, or granite tiles for your house or business.
Unlike ceramic tiles, stone is relatively weak. It’s easy to shatter and is inherently porous. You need to apply a stone seal to the tiles to prevent water damage. The seal makes cleaning all the more difficult.
You cannot use any harsh chemicals, lemon juice, vinegar, bleach, or ammonia on the stone tiles. They will wear off the seal and etch into the stone surface. You are limited to pH-neutral cleaners and soft microfiber mops for cleaning.
4. Other Tile Options
Floor tiles come in several other designs and configurations. Here are some other unique tile options.
- Linoleum Tiles: Made from linseed oil, pine resin, and fillers like sawdust, linoleum tile floors are a soft and comfortable option. They attach to one another through interlocking edges and liquid adhesive. No tile grout needed.
- Vinyl Tiles: Same thing as linoleum tiles. However, vinyl tiles are less durable due to their plastic composition. Both linoleum and vinyl floor tiles are easy to scratch. We recommend sticking to microfiber mops and soft-bristle brushes.
- Glass Tiles: Glass is a new trending material for wall tiles. Get a highly polished and unique wall design with glass tiles. It’s a brittle material, so most people avoid using it for flooring.
- Metal Tiles: Similar to glass, metal is a unique material that gives your place an aesthetic uplift. You can get pure metal (bronze, stainless, or galvanized steel) or metal-coated tiles (ceramic tiles with a metal finish). These tiles are commonly used as accent pieces for walls.
Linoleum tiles are also called cork tiles. The names often change based on brands and product marketing. You can always contact the tile manufacturer for clarity on the product.
Essential Tools for Cleaning Tile Floors
You need a different set of cleaning supplies for each type of floor tile. Here is a quick chart to help you choose the best cleaning tools and materials for your specific floor tiles.
Table 1 – List of tile and grout cleaning supplies
| Surface | Ceramic & Porcelain | Marble/Stone | Linoleum & Vinyl | Tile Grout |
| Materials | All Purpose Floor Cleaner | Mild Detergent | Mild Detergent | Grout Cleaner & Grout Sealer |
| Tools | Broom/Vacuum, Scrub Sponge, Microfiber Mop & Flat Mop | Broom/ Vacuum, Soft Brush & Microfiber Mop | Broom/ Vacuum, Flat Mop & Microfiber Mop | Small Scrub Brush & Microfiber Cloth |
| Avoid | Acidic Cleaners | Harsh Chemicals | Excess Water | Hard Brushes |
Ceramic and porcelain tiles are fairly similar. So you can use the same type of gentle cleaning solutions on both. You can also clean floor tiles using homemade cleaners.
Step-By-Step Guide to Cleaning All Types of Tile Floors
In this section, we outline the basic process of cleaning tile floors and grout. You can adapt these steps to your specific tile surface.
Step 1: Remove Loose Dirt and Debris
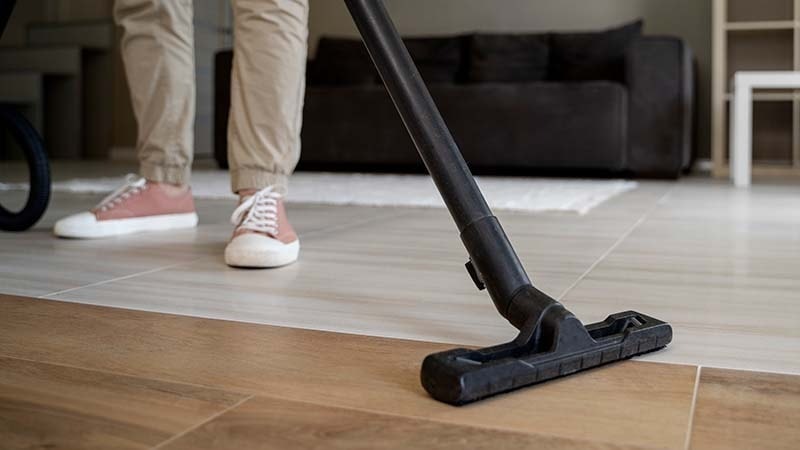
Always start with a dry cleaning process. Remove the loose dirt with a broom, a vacuum cleaner, or a dry mop.
- Brooms are the most cost-effective option and good for larger debris.
- Vacuuming is the most convenient way to remove loose debris.
- Dry mopping uses flat microfiber mops to pick up smaller pieces of dirt and debris.
You can also use a damp mop to help you get rid of dirt and mud before starting deep cleaning tiles. Use a damp cloth, preferably microfiber-based, for wall tiles.
Step 2: Prepare Your Cleaning Solution
Most floor cleaners are sold as a concentrate and need to be diluted with some warm water. Follow the instructions on the packaging for best results and use a large bucket. As stated above, avoid strong chemical cleaners that can strip away the finish on your tile floors.
You can also make natural cleaners at home. Results will vary based on your tile design and cleaning solution. So it’s best to test out home remedies on a corner before starting the cleaning.
- Light Tile Cleaning: Mix a half-and-half solution of white vinegar and warm water in a spray bottle. Add a bit of fresh lemon juice to counteract the vinegar smell.
- Medium Tile Cleaning: Dilute some dish soap in warm water and scrub the tiles using soft sponges or sponge mops.
- Heavy Tile Cleaning: Mix baking soda with dish soap to create a thick paste. Use a small brush to scrub the tiles to remove stubborn tile stains.
The baking soda mixture also acts as a DIY grout cleaner. But more on that later.
Step 3: Clean the Walls
This step is optional if you only want to clean tile floors. Start from the top and work your way to the bottom. This way, you won’t have to reclean the bottom tiles.
Spray your floor cleaner on the top tiles. Gently scrub the tiles with a sponge or stiff nylon brush. Work in small sections and make overlapping passes so you don’t miss a spot.
After cleaning one section, give it a good rinse with some warm water. Make sure there are no stubborn stains or spots before moving on to the next section.
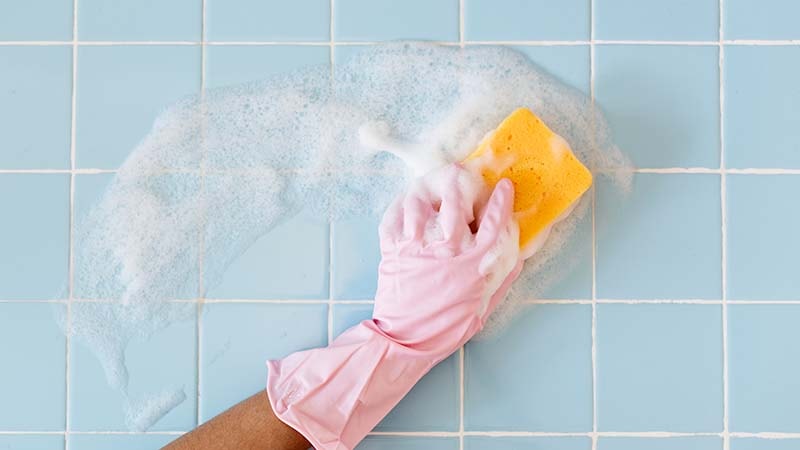
Step 4: Wet Mopping the Floor Tiles
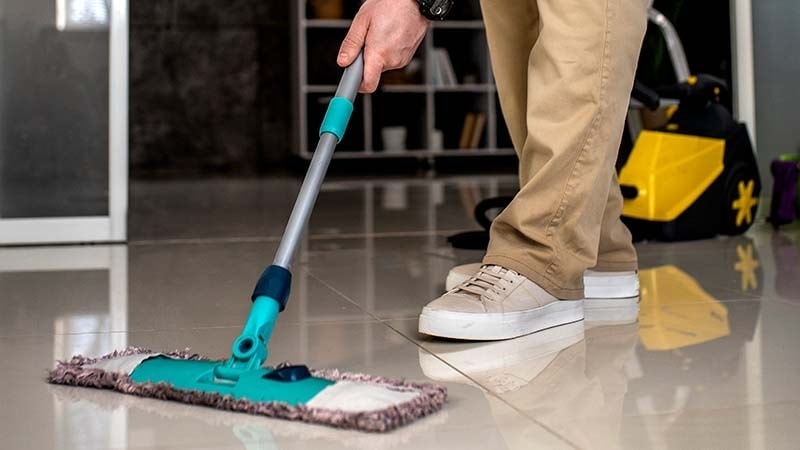
Wet mopping is your traditional tile cleaning method. We recommend two buckets, one with your tile cleaning solution and another with clean water for rinsing the mop. Otherwise, you will be redipping the mop in dirty water.
You have various mop head options based on the design of your tile floors.
- Smooth Surfaces: Use microfiber flat mops or foam (sponge) mops.
- Textured Surfaces: Use cotton string mops or microfiber tube mops.
String and tube mops hold more liquid and are better for larger areas like pools at resorts. As for cotton vs microfiber, either choice is acceptable.
Step 5: Scrub Grout Lines
Floor tile grout is by far the dirtiest part of any tile surface. It sees a lot of foot traffic, and the dirt from shoes can embed into the soft grout line between the tiles. Regular cleaning will limit dirt and grime buildup.
You can either use a commercial grout cleaner or the baking soda paste mentioned above. Using a small brush, scrub between the tiles and make sure you get all of the dirt buildup. Some professionals clean tile grout using an old toothbrush. However, it can be quite time-consuming and strain the wrist when cleaning larger surfaces.
Cleaning tile grout is very important. Unlike the tiles, grout is a porous material and can become a breeding ground for bacteria and mold. You can replace baking soda with hydrogen peroxide for serious stain removal.
Step 6: Rinse Everything
Make sure you rinse everything with clean water and remove any soap residue. Avoid overly hot water for plastic or cork floors, as it can warp the tiles. Perform one last visual inspection to ensure there are no dirty tiles left.
Step 7: Dry Everything

Drying is very important. Make sure you get all of the excess water off the tiles, or it will leave water stains. Use a soft towel to dry the wall tiles and a fresh microfiber mop to dry the floor.
Microfibers are designed to give you a lint and streak-free finish.
Step 8: Apply Sealers if Necessary
You can apply protective coatings and seals on the tiles and grout to prevent future stains. Stone flooring, such as marble or slate tile floors, requires occasional resealing, especially if the old sealant has worn away.
Grout sealer isn’t necessary, but highly recommended for bathroom and pool tiles. It keeps the moisture out and creates a more hygienic environment.
Conclusion
Tile floors are easy to clean but require a little bit of know-how. As a general rule, we recommend avoiding harsh chemicals that can damage the tile’s finish and using soft sponges and mops to avoid accidental scratches. Use the cleaning materials chart above to plan your next tile cleaning session.
Keep Your Tiles Clean with Supplies from Manywell!
Manywell is a cleaning expert with over ten years of experience in manufacturing cleaning tools. Our signature microfiber mops, scrubbing mitts, and soft towels are perfect for cleaning and maintaining tile floors.
We offer complete customization services on all our products. Additionally, businesses can avail significant discounts on large volume orders. Contact us now for a free quote.


